It was a good weekend
Thursday, August 27, 2009
the trailers are loaded........
One of the best sentences in the english language , at least to a car guy the morning of a trip to a car show. I do love driving my cars but with an aging body and a mini store to set up as a vender, that ain't going to cut it. Jim was first he got his done in a record 1 hr. To his defense He has never used this trailer and never loaded the Red Baron on any trailer, and he was using a come along. The Winkster was next. he was all set , towbar on the thing and away.......during all of this I was trying to get all of my crap together , as well as the shops vending . Now, we could stage all of the shops stuff, but not load it, the single cab is too low to load with out tearing up parts if it is full loaded. so as soon as the shop truck was up and loaded, we was gone.................
Sunday, August 16, 2009
Tuesday, August 4, 2009
interior on the cheap part 2 sound deading and carpet
part 2 on the shop trucks interior, in part 1 I made interior door cards and trim panels on the cheap, less than 100.00 USD. in keeping with that theme , the carpets needed to be done, and while I was there I wanted to deaden the sound, cause this is a huge steel can that I sit in, very noisy , not in a bad way, but it does ware on me. Doing it on the cheap 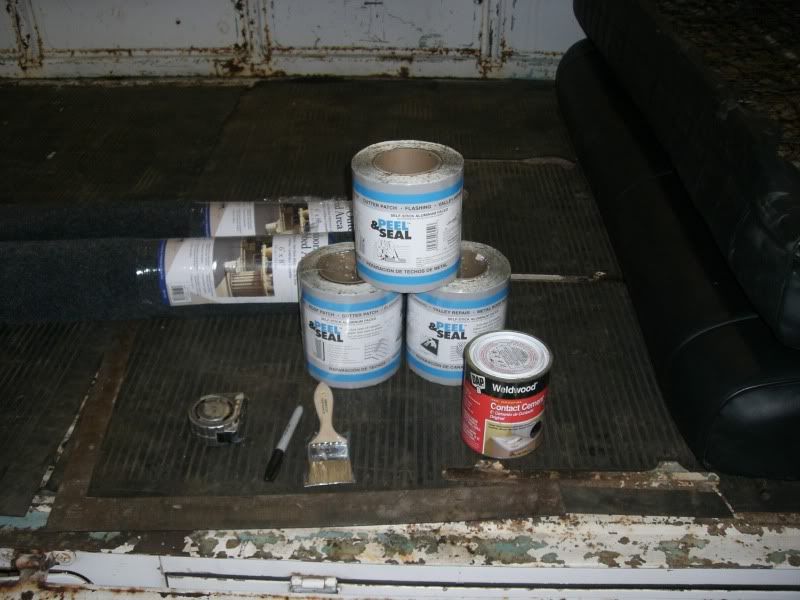 above is the materials I used for this all bought at Lowes 5 rolls of roofing patch ,it is a alum backed polybutal tape that comes in rolls , It in the roofing repairs section of the store 2 rolls of indoor/outdoor carpet, this amount is enough to do the entire cab, (62.5 sqft) contact cement and a chip brush
  the metal needs to be clean I used mild soapy water and a rag next I wiped down all the surfaces with Alc and a lint free rag
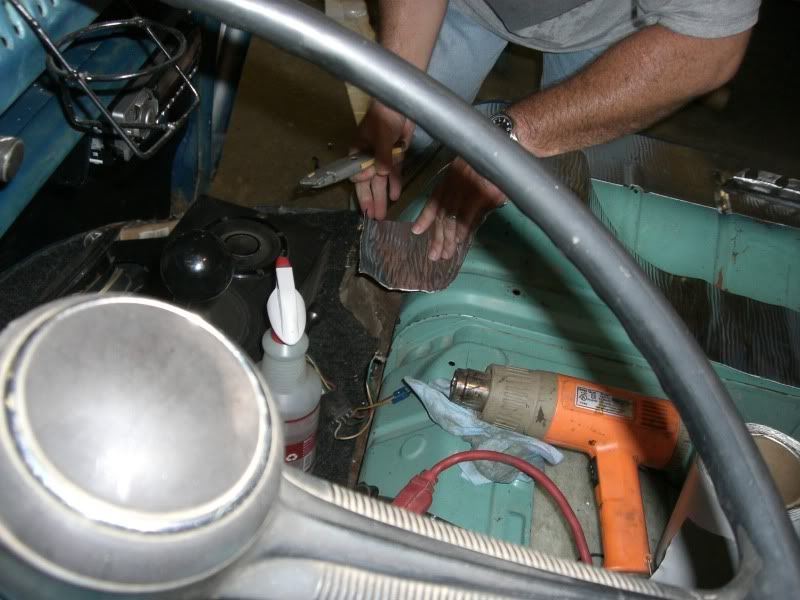
  measured and applied , I did have a heat gun to help with the rolling It is not a nessary but it does make it easer.
 I am doing the whole cab so take your time get it looking good it should take about 7 hrs to do this to a single cab next comes carpet I made my 'kit' in 8 pieces . Behind the seat, there are an upper and lower
 above is the materials I used for this all bought at Lowes 5 rolls of roofing patch ,it is a alum backed polybutal tape that comes in rolls , It in the roofing repairs section of the store 2 rolls of indoor/outdoor carpet, this amount is enough to do the entire cab, (62.5 sqft) contact cement and a chip brush
  the metal needs to be clean I used mild soapy water and a rag next I wiped down all the surfaces with Alc and a lint free rag
  measured and applied , I did have a heat gun to help with the rolling It is not a nessary but it does make it easer.
 I am doing the whole cab so take your time get it looking good it should take about 7 hrs to do this to a single cab next comes carpet I made my 'kit' in 8 pieces . Behind the seat, there are an upper and lower
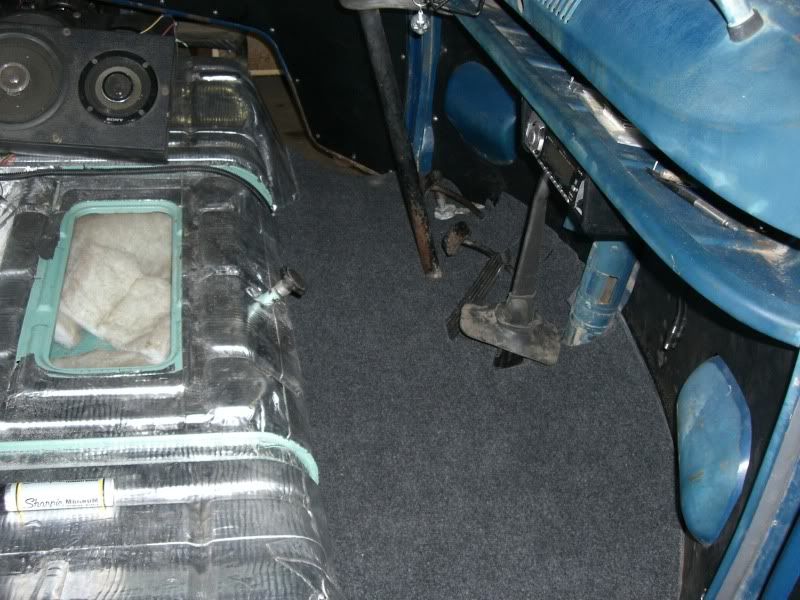
 wheel humps get one each, stopping at the welded seam, one for the center of under seat
and the floor for your feet
there are two more smaller panels that go in tho the tire well on the insides of the wheel arches and one for the 'floot for that area I made each one of the pieces and left about 1/4 inch extra on all edges test fitting as I went next come gluing, I would suggest getting a cheap pressure pot spray gun with the largest tip you can find then spraying all all the surfaces that are being put in place.If not, than using a brush is fine.
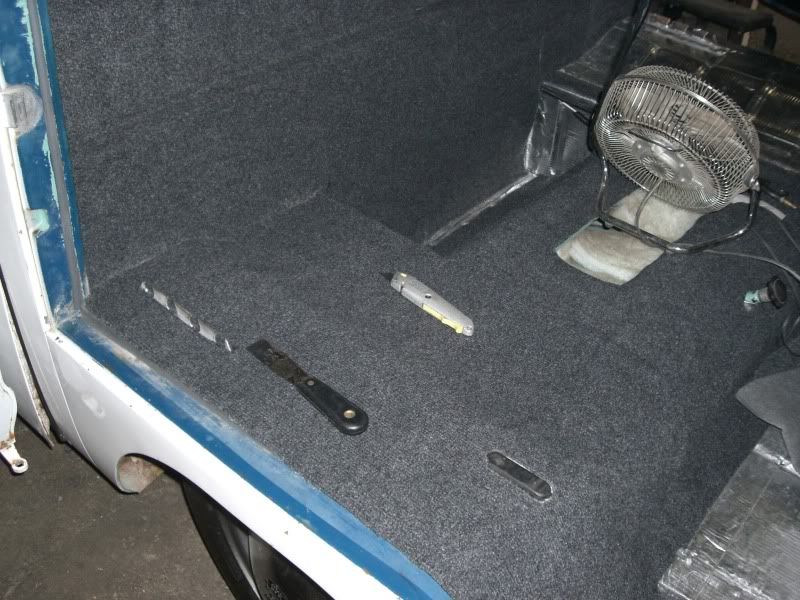
now it is just a matter of installing the carpet. I like working from the top down and in sections . Making sure that the glue is dry to the touch start with the center and working your way out pressing comes after it is were you want.
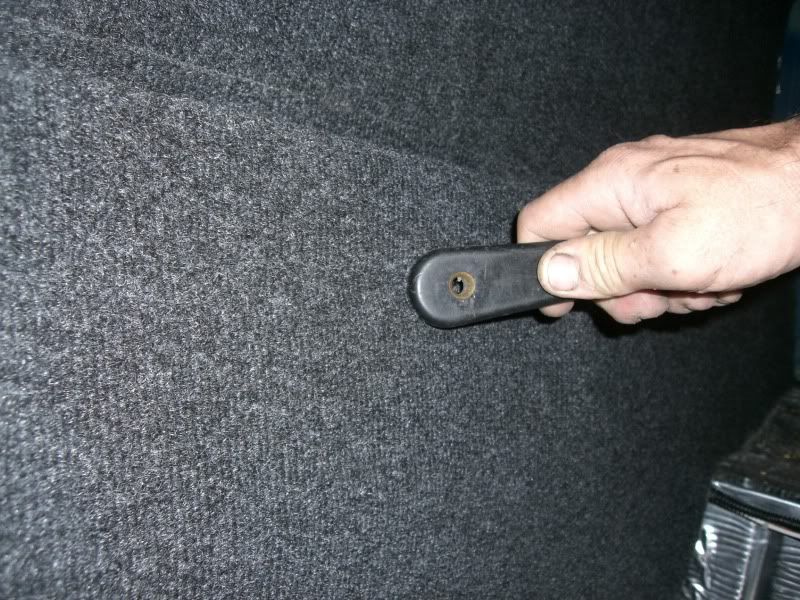
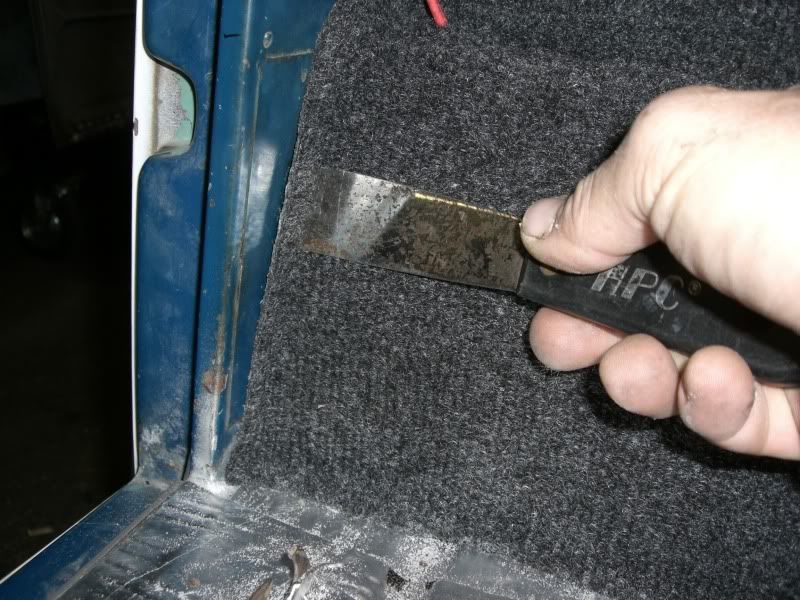
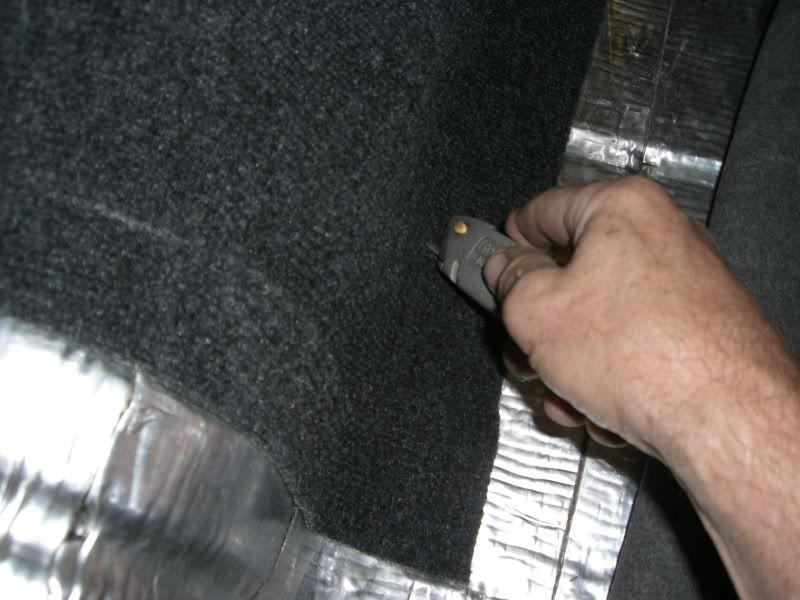
as you work towards the edges you will need to remove the extra, a stiff putty knife helps,just work the edge and cut as you go usins a sharp box cuter
now come the reinstall of shifter
Labels:
airkooedkustoms.com,
split window bus,
splitie,
volkswagen,
vw
Saturday, August 1, 2009
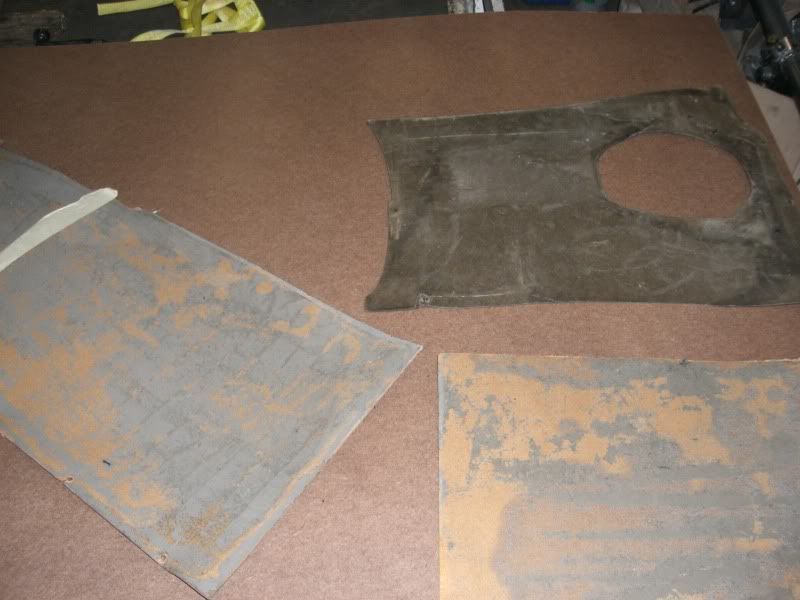
new panels..... Material List 2 sheets of 1/8 masinite 1 quart contact cement 10 sq. yards of backed exterior vinyl 1 china brush, (cheap)  this is what I started with, after I removed the purple fur material that screams 70's All of the interior panels looked like ass. before I threw them in the trash I traced them on to the masinite .
  after tracing all of the panels and cutting them out,
  I used an air shear for the cutting and a belt sander for the smoothing , but a jig saw will work just fine
 lay out the new door cards on the vinyl and cut out leaving a min of 1/2 " extra around all sides
  coat the face of the panel and the back on the now cut fabric with contact cement, you can use the stuff in the can and spray it, but it is cheaper to to buy the qt can and brush it on. let it dry. If you want to put any designs in the panels now is the time to install them, We went with our logo.
  after you have that down, coat the top face of your design with contact cement and let dry to the touch,I usually let every thing set up for 30 min. place you material on the card and remove the air bubbles then press the material on to the card. I like using a wallpaper roller.
  now wrap the edges around the back of the cards and press the edge down, once again using my wall paper seam roller. next I like to compress the cards a vac press is ideal for this, but if you don't have one , stack the cards in pairs in-between two pieces of plywood and set weight on them, and leave them for a min of 12 hrs this is what they look like when them come out of the press
  after you clean them with IPA
 notice the inserts
  I used some scraps of the vinyl for mine, you can use foam but I am doing this on the cheap
 this is what I started with, after I removed the purple fur material that screams 70's All of the interior panels looked like ass. before I threw them in the trash I traced them on to the masinite .
  after tracing all of the panels and cutting them out,
  I used an air shear for the cutting and a belt sander for the smoothing , but a jig saw will work just fine
 lay out the new door cards on the vinyl and cut out leaving a min of 1/2 " extra around all sides
  coat the face of the panel and the back on the now cut fabric with contact cement, you can use the stuff in the can and spray it, but it is cheaper to to buy the qt can and brush it on. let it dry. If you want to put any designs in the panels now is the time to install them, We went with our logo.
  after you have that down, coat the top face of your design with contact cement and let dry to the touch,I usually let every thing set up for 30 min. place you material on the card and remove the air bubbles then press the material on to the card. I like using a wallpaper roller.
  now wrap the edges around the back of the cards and press the edge down, once again using my wall paper seam roller. next I like to compress the cards a vac press is ideal for this, but if you don't have one , stack the cards in pairs in-between two pieces of plywood and set weight on them, and leave them for a min of 12 hrs this is what they look like when them come out of the press
  after you clean them with IPA
 notice the inserts
  I used some scraps of the vinyl for mine, you can use foam but I am doing this on the cheap
Labels:
airkooledkustoms.com,
new interior,
single can,
split window bus,
splitie,
vw
Subscribe to:
Comments (Atom)
